
Are you ready to protect your garden and add a touch of charm to your outdoor space? Putting up a garden fence might seem like a big task, but with the right steps, you can do it yourself and enjoy the satisfaction of a job well done.
Imagine having a fence that keeps pests out, defines your garden’s boundaries, and boosts your home’s curb appeal—all while fitting perfectly with your style. In this guide, you’ll learn simple, clear instructions to help you build a garden fence that lasts.
Keep reading, and you’ll discover how easy and rewarding this project can be for you and your garden.
Credit: www.homedepot.com
Choosing The Right Fence
Putting up a garden fence can protect your plants and add style. Picking the right fence is important for your garden’s needs.
Think about the fence type, materials, height, and style. These choices affect how your garden looks and stays safe.
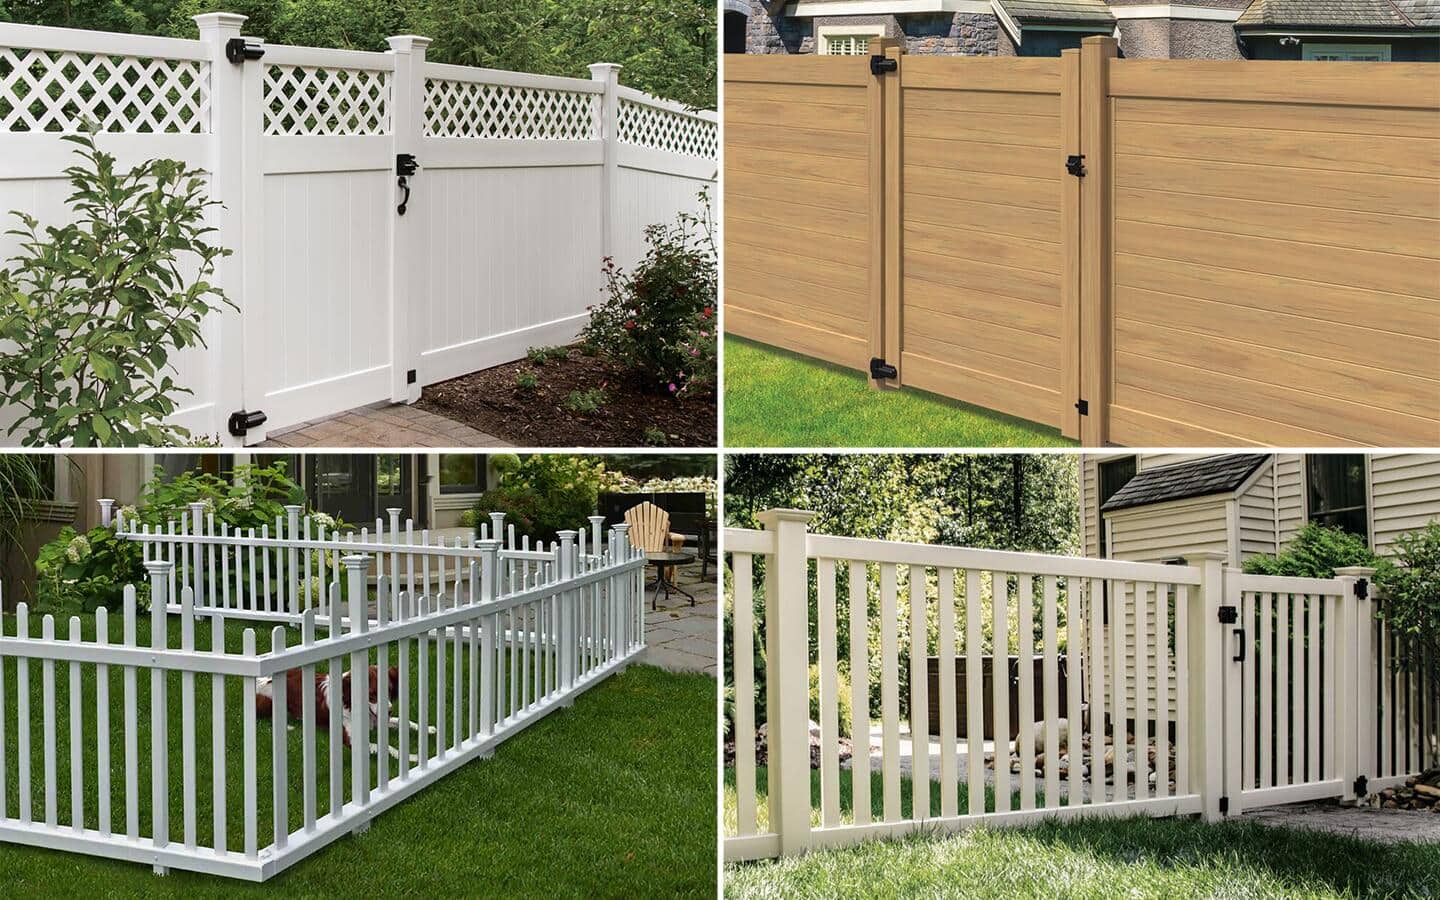
Types Of Garden Fences
There are many types of garden fences. Each type fits different garden shapes and purposes.
Some fences block views, while others let light and air pass through. Choose one that suits your garden’s use.
- Wooden fences provide privacy and a natural look
- Wire fences keep animals out but are see-through
- Picket fences add charm and mark boundaries
- Bamboo fences create a tropical and eco-friendly feel
- Metal fences offer strength and modern style
Materials To Consider
The material you pick affects the fence’s durability and look. Some materials need more care than others.
Think about weather, budget, and how long you want the fence to last. Choose a material that fits your lifestyle.
- Wood is classic but may need painting and sealing
- Vinyl is low-maintenance and weather-resistant
- Metal like iron or aluminum is strong and long-lasting
- Bamboo is eco-friendly but less durable in wet climates
- Wire is affordable and good for keeping animals out
Fence Height And Style
Fence height matters for privacy and protection. Taller fences block views and keep animals away.
Style should match your garden and home. A fence can be simple or decorative based on your taste.
- Short fences work well for flower beds and small plants
- Medium height fences suit general garden borders
- Tall fences offer privacy and security
- Simple styles fit modern gardens
- Decorative styles add charm to traditional gardens
Gathering Tools And Supplies
Putting up a garden fence can protect your plants and add beauty. You need the right tools and supplies to get started.
Before you begin, gather everything you will need. This ensures a smooth and efficient process.
Essential Tools
Having the right tools makes the job easier and more efficient. Ensure you have these essentials ready.
- Hammer
- Screwdriver
- Post hole digger
- Tape measure
- Level
Required Materials
Materials are the building blocks of your fence. Choose quality items to ensure durability.
| Material | Description |
| Wooden posts | For the fence structure |
| Wire mesh | For securing the fence |
| Nails and screws | To hold everything together |
Safety Gear
Safety is crucial when working with tools. Proper gear protects you from accidents.
- Gloves to protect your hands
- Safety goggles to shield your eyes
- Sturdy boots for foot safety
Preparing The Site
Putting up a garden fence starts with preparing the site well. This step helps ensure the fence is straight and sturdy.
Good preparation makes the installation easier and the fence last longer.
Measuring And Marking
First, measure the length of the area where the fence will go. Use a tape measure to get exact numbers.
Mark the spots where each fence post will stand. Space them evenly for a strong fence.
- Use stakes or spray paint to mark post locations
- Check measurements twice to avoid mistakes
- Keep marks visible but easy to remove later
Clearing The Area
Clear the ground where the fence will be. Remove grass, weeds, and rocks to make digging easier.
A clean area helps posts sit firmly in the soil and prevents damage to the fence.
- Pull out all plants and roots
- Remove stones and debris
- Level the ground if needed
Checking For Obstacles
Look for underground cables or pipes before digging. Call your local utility company if unsure.
Also, check for tree roots or large rocks that may block fence posts.
- Use a utility locator service
- Avoid digging near tree roots
- Plan around obstacles to keep fence straight
Setting Fence Posts
Fence posts hold your garden fence strong and steady. Setting them right is important for a long-lasting fence.
This guide explains how to dig holes, position posts, and secure them with concrete.
Digging Post Holes
Start by marking where each fence post will go. Space the marks evenly along the fence line.
Use a post hole digger or shovel to dig holes. Make holes about one-third as deep as the post is tall.
- Check local codes for hole depth
- Make holes wider than the post
- Remove loose dirt from the hole
Positioning And Leveling
Place the post in the hole carefully. Make sure the post is straight by using a level.
Adjust the post until it stands perfectly vertical. Keep the top of each post at the same height.
- Use a carpenter’s level for accuracy
- Have someone hold the post steady
- Double-check the post height
Securing Posts With Concrete
Pour concrete mix into the hole around the post. Fill the hole up to ground level.
Smooth the surface and let the concrete harden for at least 24 hours before adding fence panels.
- Use quick-setting concrete for faster work
- Check post alignment before concrete sets
- Keep posts steady until concrete cures
Attaching Fence Panels
Attaching fence panels is a key step in building a strong garden fence. Proper attachment keeps panels secure and stable against weather and wear.
Use the right tools and techniques to make sure your fence lasts long and looks neat. This guide covers choosing fasteners, aligning panels, and securing panels to posts.
Choosing Fasteners
Selecting the correct fasteners helps your fence stand firm. Use materials that resist rust and weather damage. Galvanized or stainless steel nails and screws are best.
- Use galvanized screws for wood panels
- Choose nails with corrosion-resistant coating
- Pick fasteners long enough to grip both panel and post
- Avoid cheap or soft metal fasteners that bend easily
- Consider using deck screws for extra strength
Aligning Panels
Align panels carefully to keep your fence straight and even. Check the height and spacing before fixing them in place.
| Check | How to Do It |
|---|---|
| Height | Use a level to keep panels at the same height |
| Spacing | Keep equal gaps between panels for a neat look |
| Straightness | Stretch a string line along posts to guide panel placement |
Securing Panels To Posts
Attach panels tightly to posts to prevent wobbling. Secure fasteners at multiple points along each panel.
- Hold the panel flush against the post
- Drive screws or nails through the panel frame into the post
- Place fasteners at the top, middle, and bottom of the panel
- Double-check panel alignment before fully tightening fasteners
- Use a power drill for screws to avoid splitting the wood
Adding Gates And Finishing Touches
After building your garden fence, adding gates and finishing touches makes it complete. Gates allow easy entry and exit. Finishing touches improve the fence’s look and last longer.
This guide covers installing gates, applying protective coatings, and adding decorative elements. Each step helps your fence look good and work well.
Installing Gates
Choose a gate size that fits your garden entry. Make sure it matches the fence height and style. Use strong posts to hold the gate firmly.
Attach the gate with heavy-duty hinges. Check that it swings smoothly and closes tightly. Use a latch or lock to secure the gate.
- Measure the gate opening accurately
- Use treated wood or metal for durability
- Install hinges on strong posts
- Test the gate for easy swinging
- Add a latch or lock for security
Applying Protective Coatings
Protective coatings stop wood from rotting and metal from rusting. Choose a coating that suits your fence material. Paint, stain, or sealant can work well.
Apply coatings evenly on all fence parts, including posts and gates. Let the first coat dry before adding a second. This keeps your fence strong and looking good.
- Pick weather-resistant paint or stain
- Apply coating on dry, clean surfaces
- Cover all sides and edges thoroughly
- Allow drying time between coats
- Reapply coating every few years
Decorative Elements
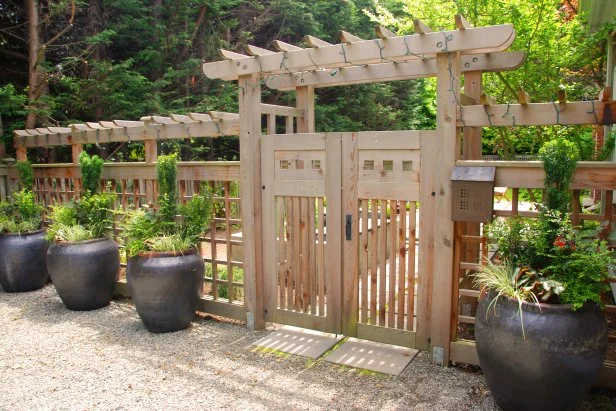
Add decorations to make your fence unique. You can use plants, lights, or shaped wood pieces. These add charm and style to your garden.
Place climbing plants near the fence for natural beauty. String solar lights along the top for night glow. Attach wooden or metal shapes for extra design.
- Grow vines or flowers on the fence
- Use solar or LED string lights
- Attach carved wooden shapes
- Add hanging pots or bird feeders
- Paint patterns or designs on panels
Maintenance Tips
Keeping your garden fence in good shape helps it last longer. Regular care stops small problems from growing.
Follow simple maintenance steps to protect your fence and keep it looking nice all year.
Regular Inspections
Check your fence often for damage or wear. Look for loose boards, rust, or broken parts.
Inspect posts and panels to catch issues early. Early fixes save money and effort later.
- Walk along the fence line every month
- Look for cracks, holes, or warping
- Check fence posts for stability
- Spot signs of pests or rot
Repairs And Replacements
Fix small problems quickly to avoid big repairs. Tighten screws and replace damaged parts as needed.
Use matching materials for repairs to keep your fence uniform. Replace rotten wood or rusted metal promptly.
- Replace broken boards or panels
- Tighten loose nails and screws
- Remove rust with a wire brush
- Apply paint or sealant to repaired areas
Seasonal Care
Adjust your fence care based on the season. Prepare it for winter, spring, summer, and fall conditions.
Clean and protect your fence before harsh weather. Remove debris and check for damage after storms.
- Clear leaves and dirt in fall
- Check for water damage in spring
- Apply protective coatings in summer
- Secure loose parts before winter
Credit: www.hgtv.com

Credit: savvygardening.com
Frequently Asked Questions
What Materials Are Best For Garden Fences?
Wood, vinyl, and metal are popular garden fence materials. Wood offers a natural look but requires maintenance. Vinyl is durable and low-maintenance. Metal, like wrought iron, provides strength and style. Choose based on your budget, garden style, and climate.
How Do I Prepare The Ground For Fence Installation?
Clear the area of plants, rocks, and debris. Level the ground to ensure stability. Mark fence lines with stakes and string for accuracy. Proper preparation prevents future fence damage and ensures a straight, secure installation.
What Tools Are Needed To Put Up A Garden Fence?
Essential tools include a post hole digger, hammer, measuring tape, level, and saw. You may also need screws or nails and a drill. Having the right tools makes installation easier and improves fence durability.
How Deep Should Fence Posts Be Set In The Ground?
Fence posts should be buried at least one-third of their length. Typically, this means 2 to 3 feet deep. This depth provides stability and helps the fence withstand wind and weather conditions.
Conclusion
Putting up a garden fence can protect your plants and add beauty. Start with clear plans and measure carefully. Use the right tools to make the job easier. Take your time to set posts straight and secure panels well. A sturdy fence lasts longer and keeps your garden safe.
Enjoy the peaceful space you create around your home. With patience and care, your garden will look great for years. Simple steps bring great results. Ready to build your garden fence?
